Previously, if you want to set up a device through on device setup or do provisioning or activation, you first needed an ethernet connection to the cloud. Now, you can set up a WiFi only device with Access Point mode. First use the Access Point setup screen to connect to your local network, and then you can access Activation, Provisioning, or On-Device Setup.
Note that you will need to use either a factory fresh player or factory reset an existing player (it must have a blank SD card). This player must also be running BrightSign OS 8.4.X or higher, and have an installed wifi module.
To set up a player:
Factory reset and reboot the player.
After the player reboots (
about 60 seconds), you will see the Wireless Access Point Setup screen.
Follow the on screen instructions:
Connect your computer or mobile device. For example, on a PC, go to Network & Interface settings > Wi-Fi to select the BrightSign device, and then select Connect (see Image 1).
Start your browser and enter the IP address on the screen (for example, http://192.168.10.200/setup in Image 2). This will take you to the BrightSign Device Setup page.
Follow the instructions on the page to set up your device for WiFi (you will have to enter the network name and your WiFi password). Once the PC/mobile connection is established, the device will reboot.
Now you can select Activation, Provisioning, or On-Device Setup:
Activation: Enter
the Activation code
or the QR code
in BrightAuthor:connected (see Image 3). This will automatically download and install the default provisioning setup from B-Deploy.
Provisioning: If a provisioning record was configured for the player, it will automatically download it from B-Deploy and install it. Note that
the provisioning record must be added to BrightAuthor:connected before you setup the player for the player to receive the record from cloud.
for more information.
On-Device Setup:
Enter the setup wizard
for On-Device Setup by visiting http://<ip>/setup. This screen will appear immediately if you are not connected to the internet. The On-Device Setup feature is supported on Series 4 (XTx44, XDx34, HDx24, LS424) and Series 3 (XTx43, XDx33, HDx23, LS423) models only.

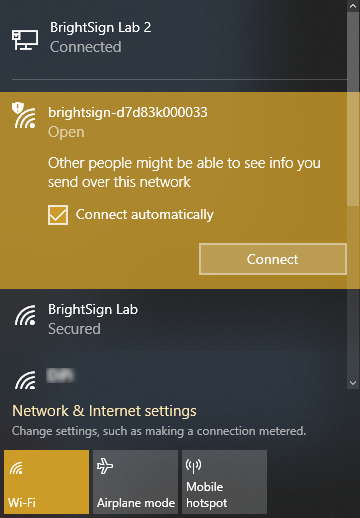
Image 1
You should be able to see all the available network types in the UI and most will be enabled. This is expected, but if you choose any network setup other than WiFi or "use current network settings", the connection will fail without adding the corresponding physical connection, (for example, the ethernet cable).

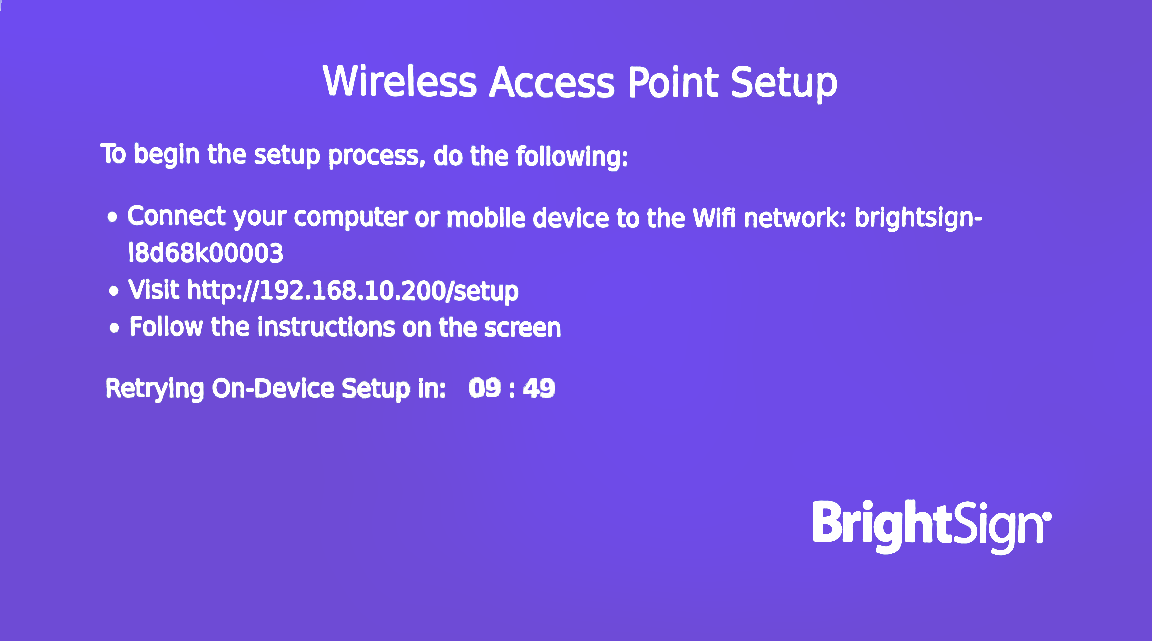
Image 2: These instructions will appear on the display screen

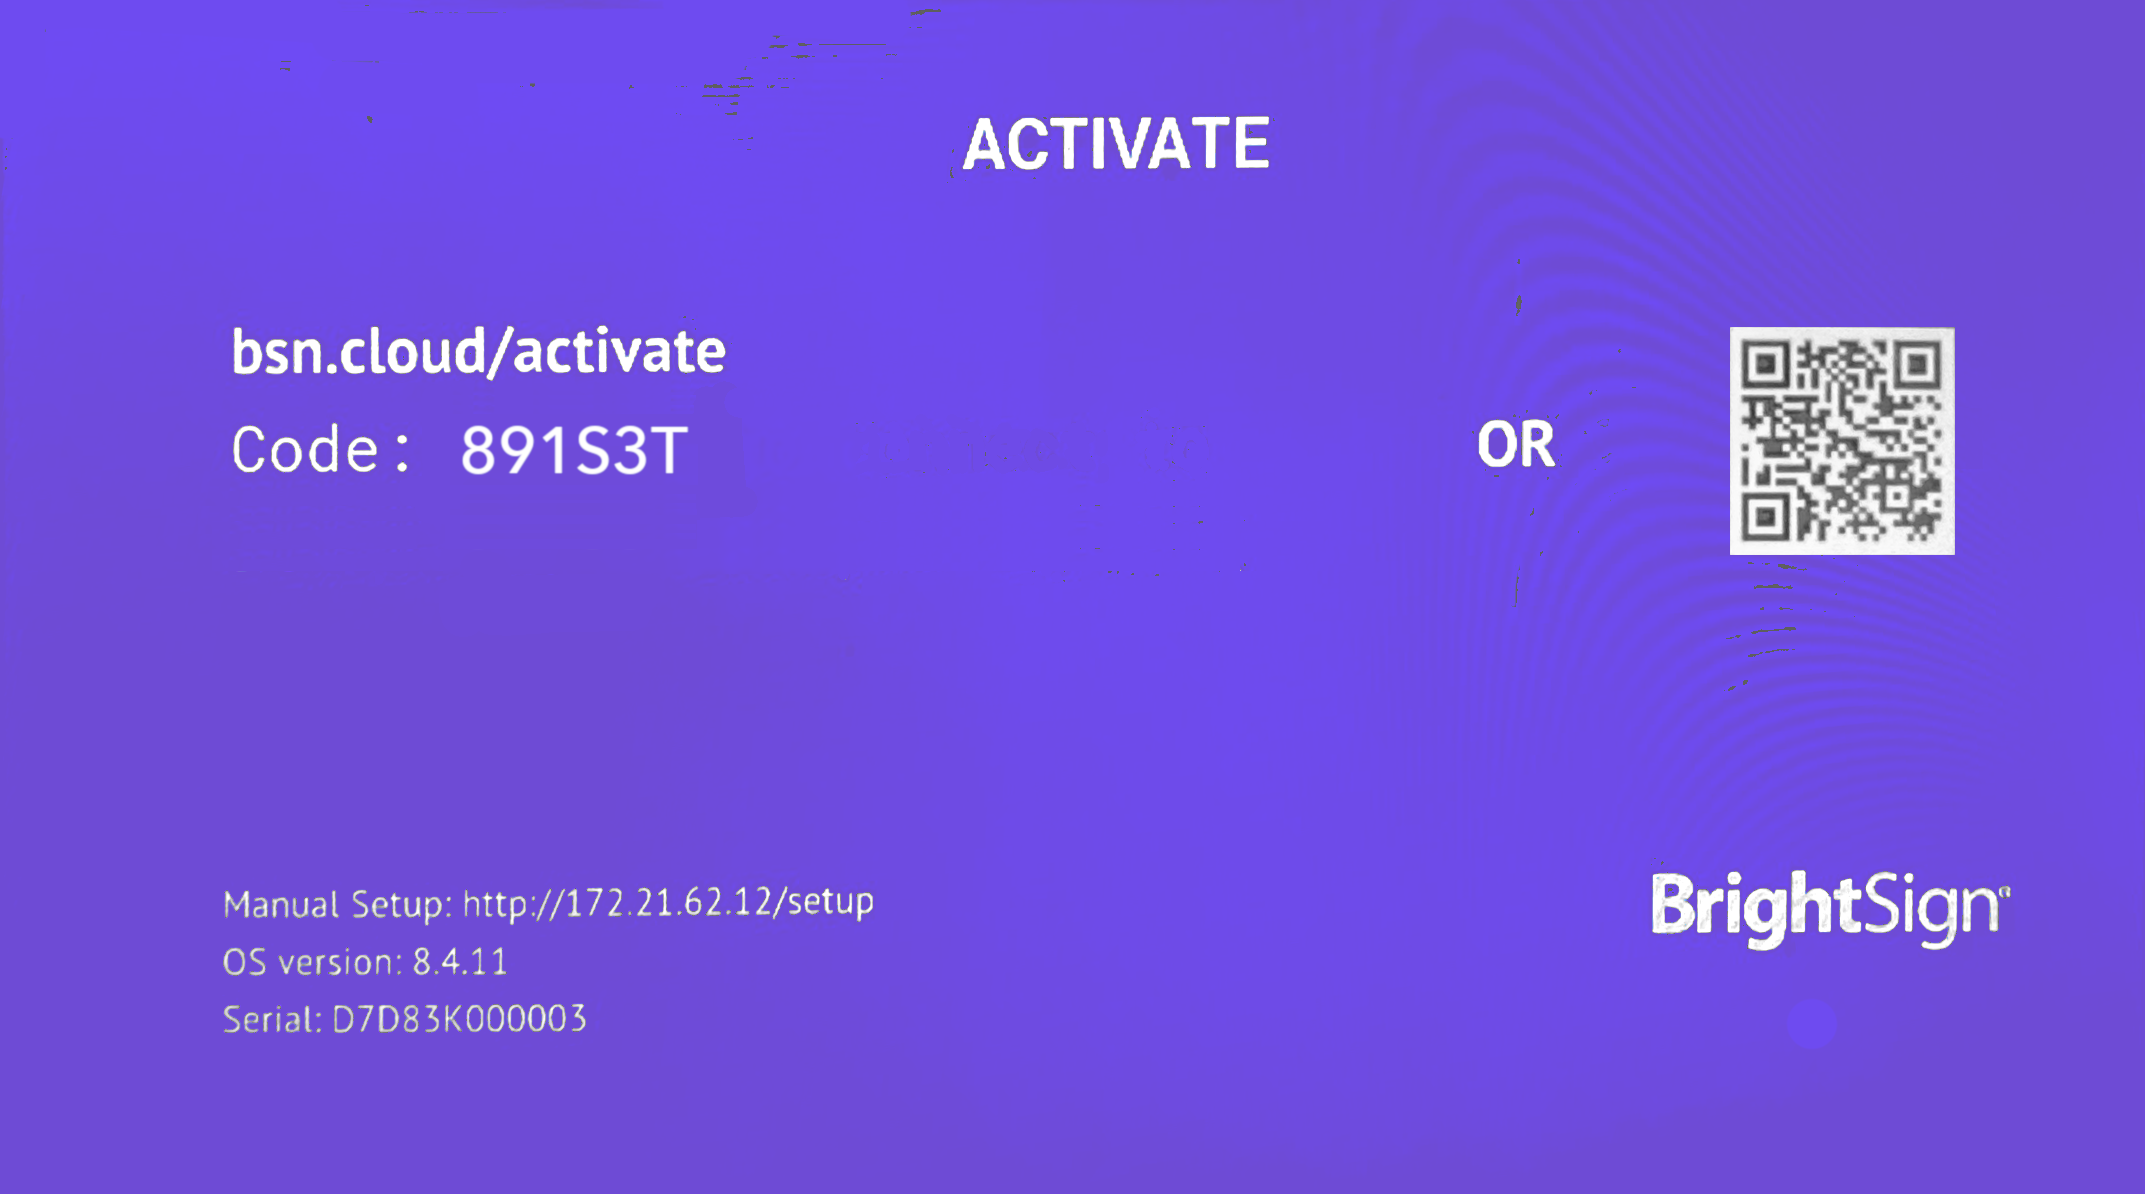
Image 3: If you setup using Activation, your activation code will be displayed on the display screen.