| Expand | ||
|---|---|---|
| ||
|
Introduction
This guide walks through the various available methods of using BrightAuthor:connected to set up a BrightSign player. After the player is set up, see BrightAuthor:connected Publishing Quickstart to create a simple presentation and publish that presentation to a player for display.
Player Preparation
Requirements
A BrightSign player
A microSD or other storage device (a microSD card will be assumed for this guide). See Player Storage for more information.
A Mac or PC (additional requirement details can be found here)
A Display
An HDMI® cable
(optional) A microSD card adapter, if you are planning to transfer content from your computer to your player using a microSD card.
Connecting your Player
Prepare the microSD card by erasing its contents. Cards must be formatted as exFAT or FAT32.
Connect your BrightSign player to a power supply.
Connect the player to a display with the HDMI cable.
Put the blank microSD card in the player.
Make sure the player is connected to your local network with an ethernet cable. Ideally, you should also have internet access.
Publishing Mode
Players can be configured in a variety of “Publishing Modes”, which reflect how content is transferred to the player. Consider the configuration that makes sense for your needs before proceeding:
BrightAuthor:connected Publishing Modes
Standalone | Local Network | Web Folder | BSN.cloud |
|---|---|---|---|
Content is manually published to a storage device (usually an SD card) | Content is published to the player over the local network | Content resides on a web server that is accessible by the player | Content is stored, published, and managed via BSN.cloud |
Network connection not required. The storage device is manually connected/inserted into each player | Local network connection required | Network connection between player and web server required. Players periodically check the web server for content updates, then new content is automatically published to the player | Internet connection required |
Free | Free | Free (web server hosting charges may be required) | Subscription-based with free trial |
Partner CMS Publishing Modes
Partner App | App Url |
|---|---|
Content is published through the selected partner CMS | Content is packaged and placed at a URL that is accessible by the player |
Internet access is required | Internet access is required |
Pricing depends on the partner CMS | Free (web hosting charges may apply) |
Player Setup
| Info |
|---|
Configurations involving the legacy BrightSignNetwork.com are not covered in this guide. |
Download, install, and launch the BrightAuthor:connected app on your Mac or PC.
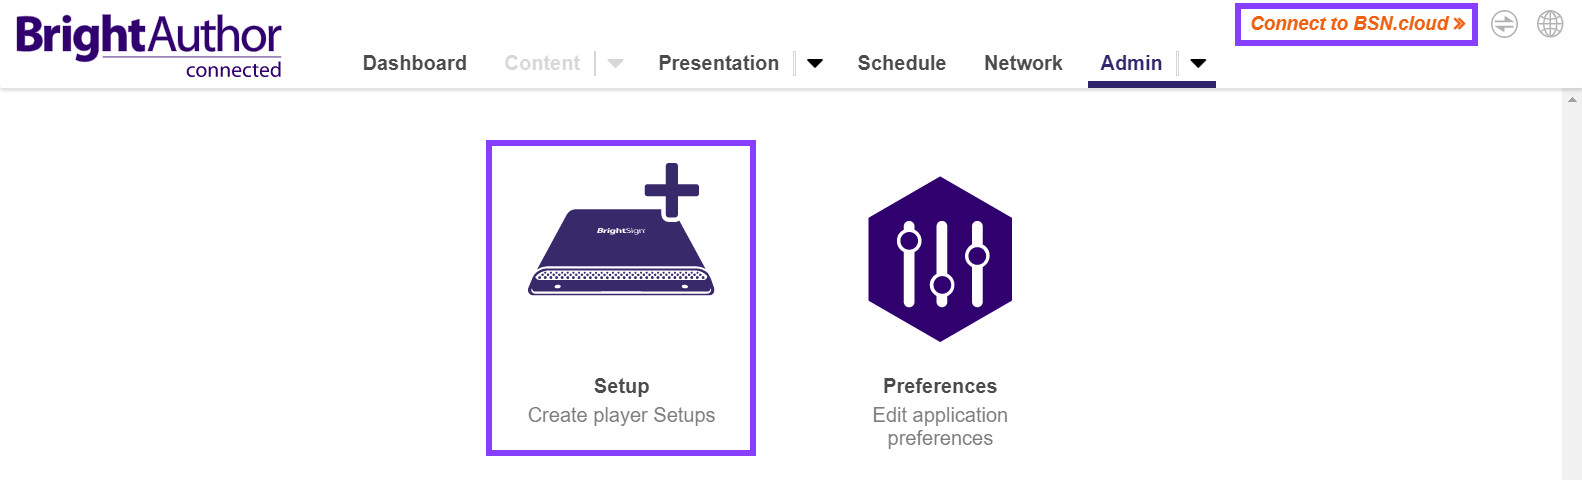
The BrightAuthor:connected Dashboard screen should appear, as shown above, indicating that you are not connected to BSN.cloud. While you do not need to connect to BSN.cloud to setup for Standalone, Local Network, or Web Folder, it is better to do so to get the full functionality of BrightAuthor:connected. You must create an account to use BSN.cloud setup. For information about how to create an account, see this page.
From the Admin tab, select Setup. Go to the page below for your preferred Setup type: