Creating your BSN.cloud account
If you have not previously created a BSN.cloud network, you will be prompted to create one when you sign in to BrightAuthor:connected. To do this:
- Open BrightAuthor:connected and select Connect.
- Sign in as a New User and enter the required information to Sign Up for BSN.cloud.
- Validate the email and return to BrightAuthor:connected to log in with your new credentials.
- Give your new BSN.cloud network a name and agree to the terms and services to create the network.
- To create a Content Cloud subscription, go to the Admin tab and select the Content Cloud trial. Control Cloud subscribers can skip this step.
For a more details about signing up for a BSN.cloud account, watch this video.
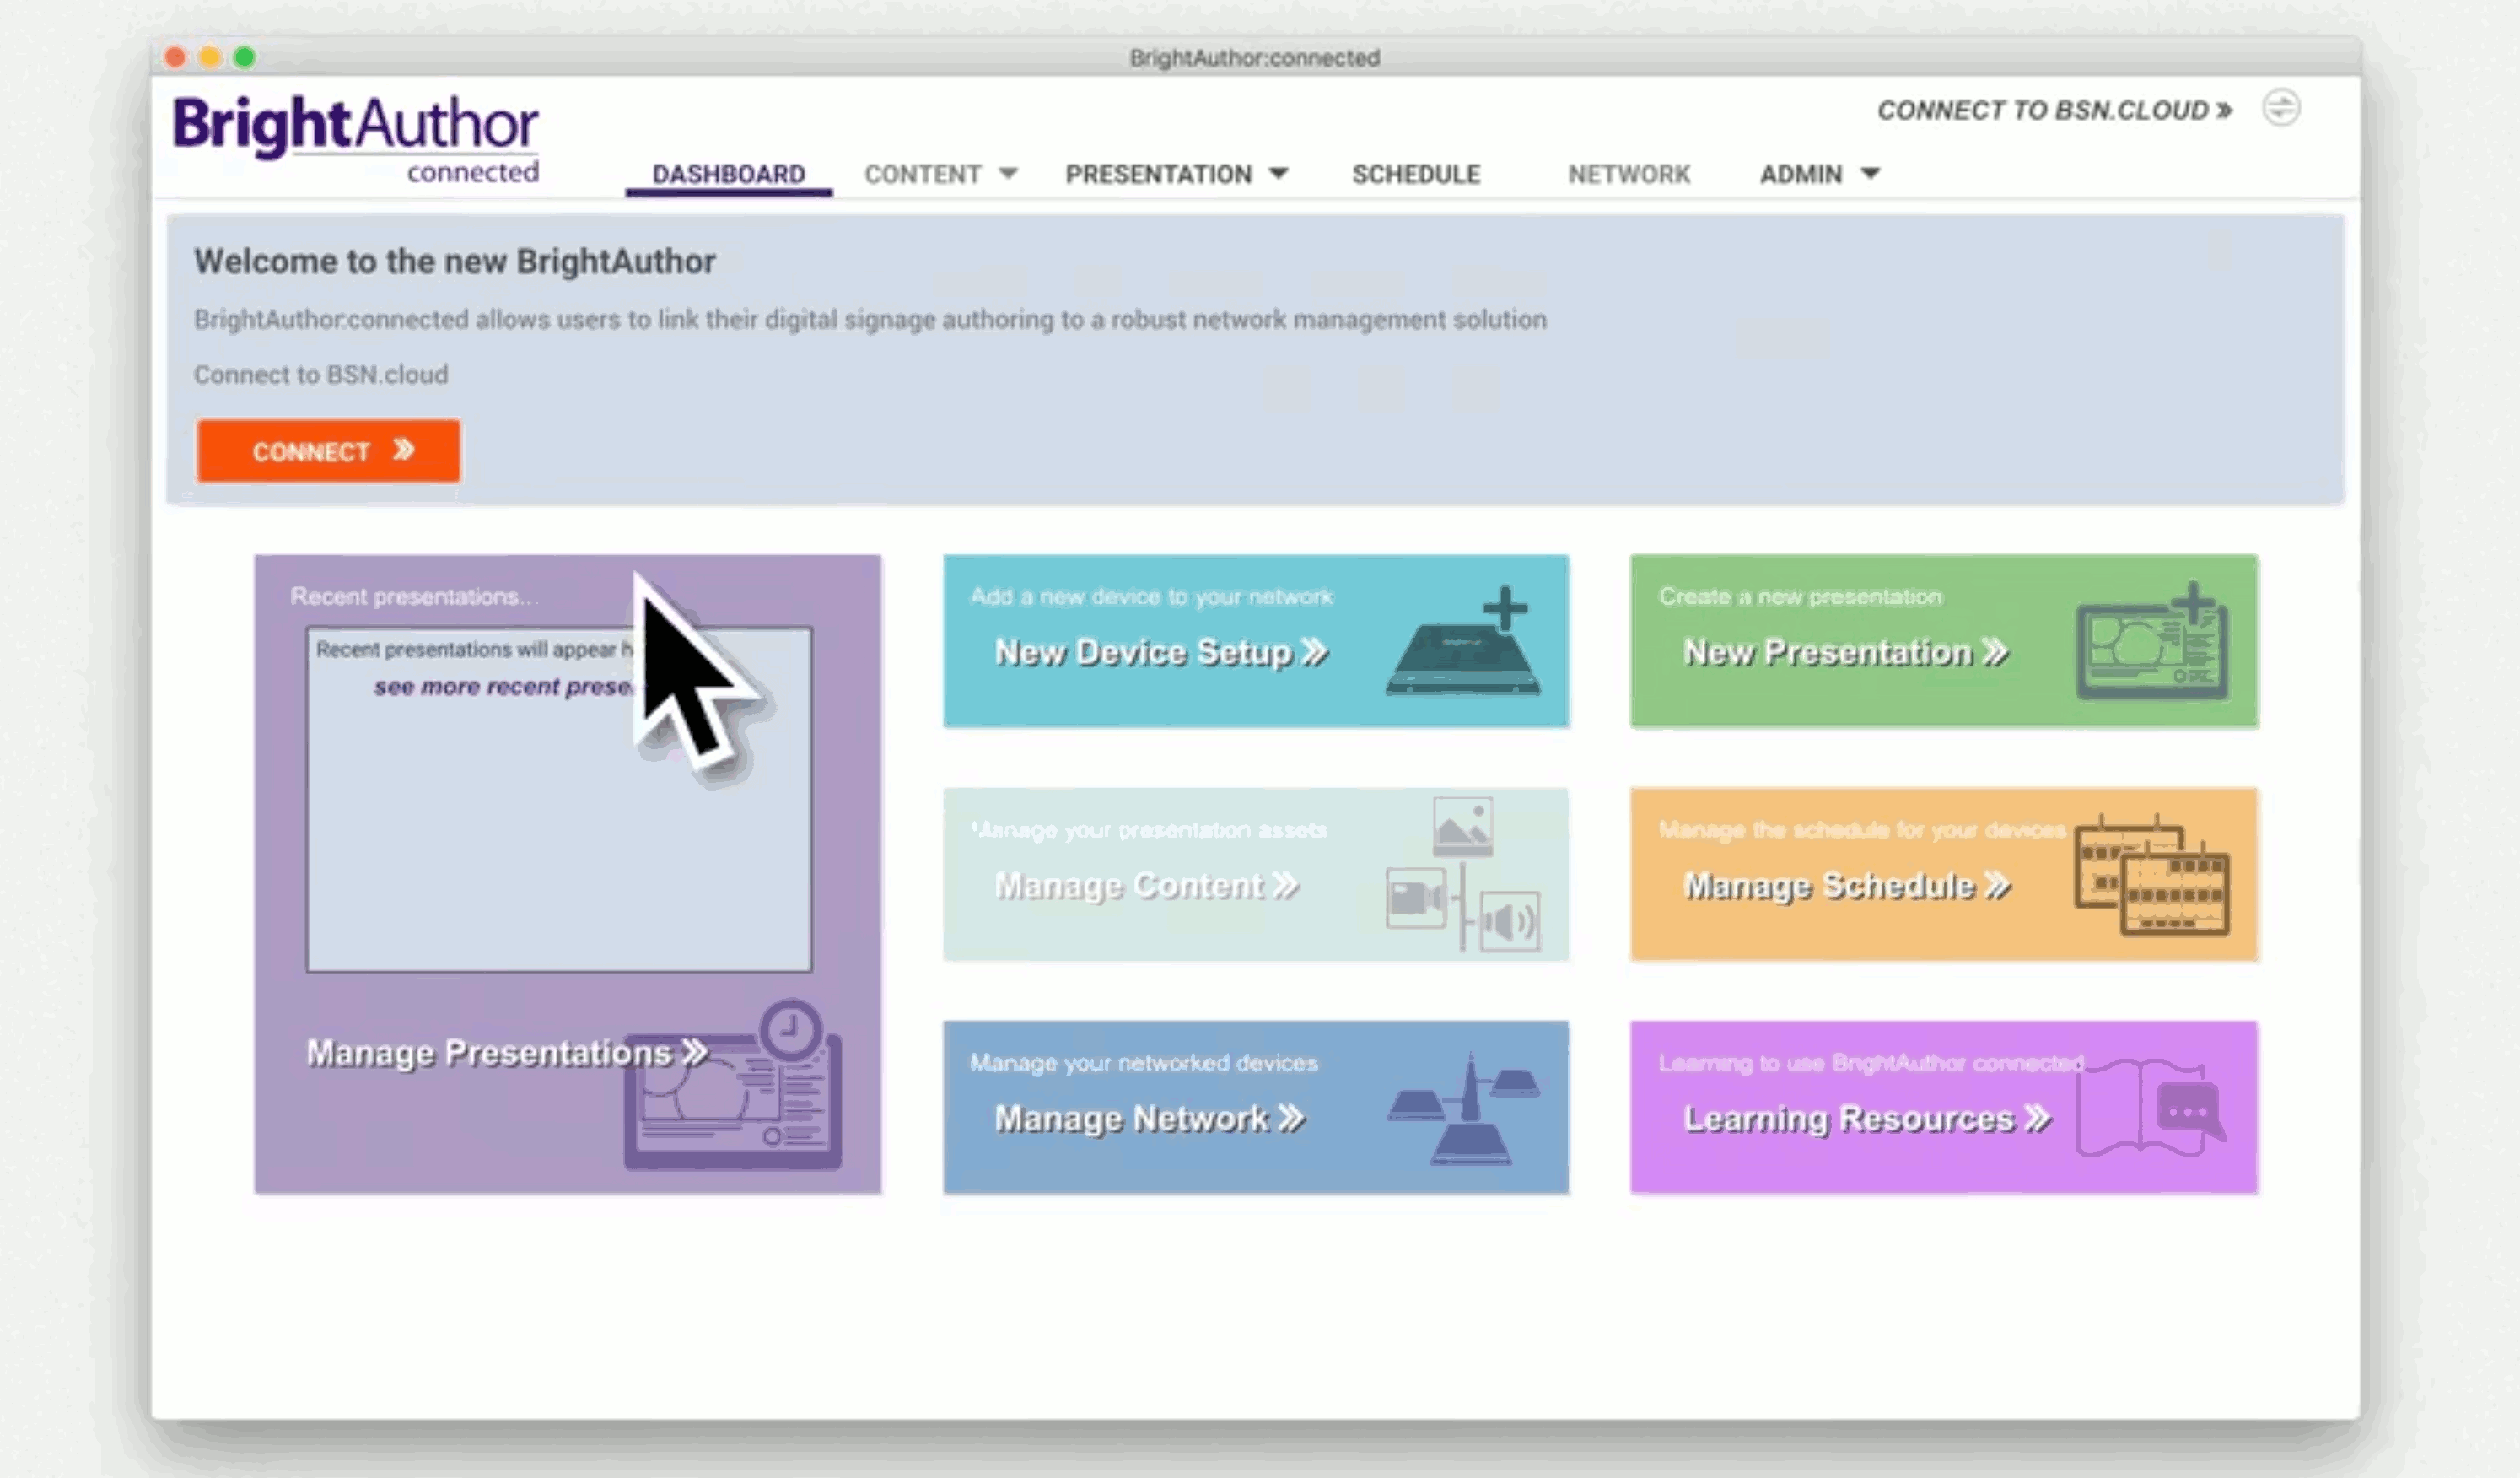
Figure 1: Connect, Sign In, and Sign Up to create a BSN.cloud account
Creating a New BSN.cloud Network
You can create multiple networks from the same account (all new networks are Control Cloud networks by default). To create a new network:
- Go to the Admin tab.
- Select New Network as in Figure 2.
- You will be prompted to add a unique Network Name in a new dialog box.
- Select Create. You will receive an email with login instructions when your new network has been created.
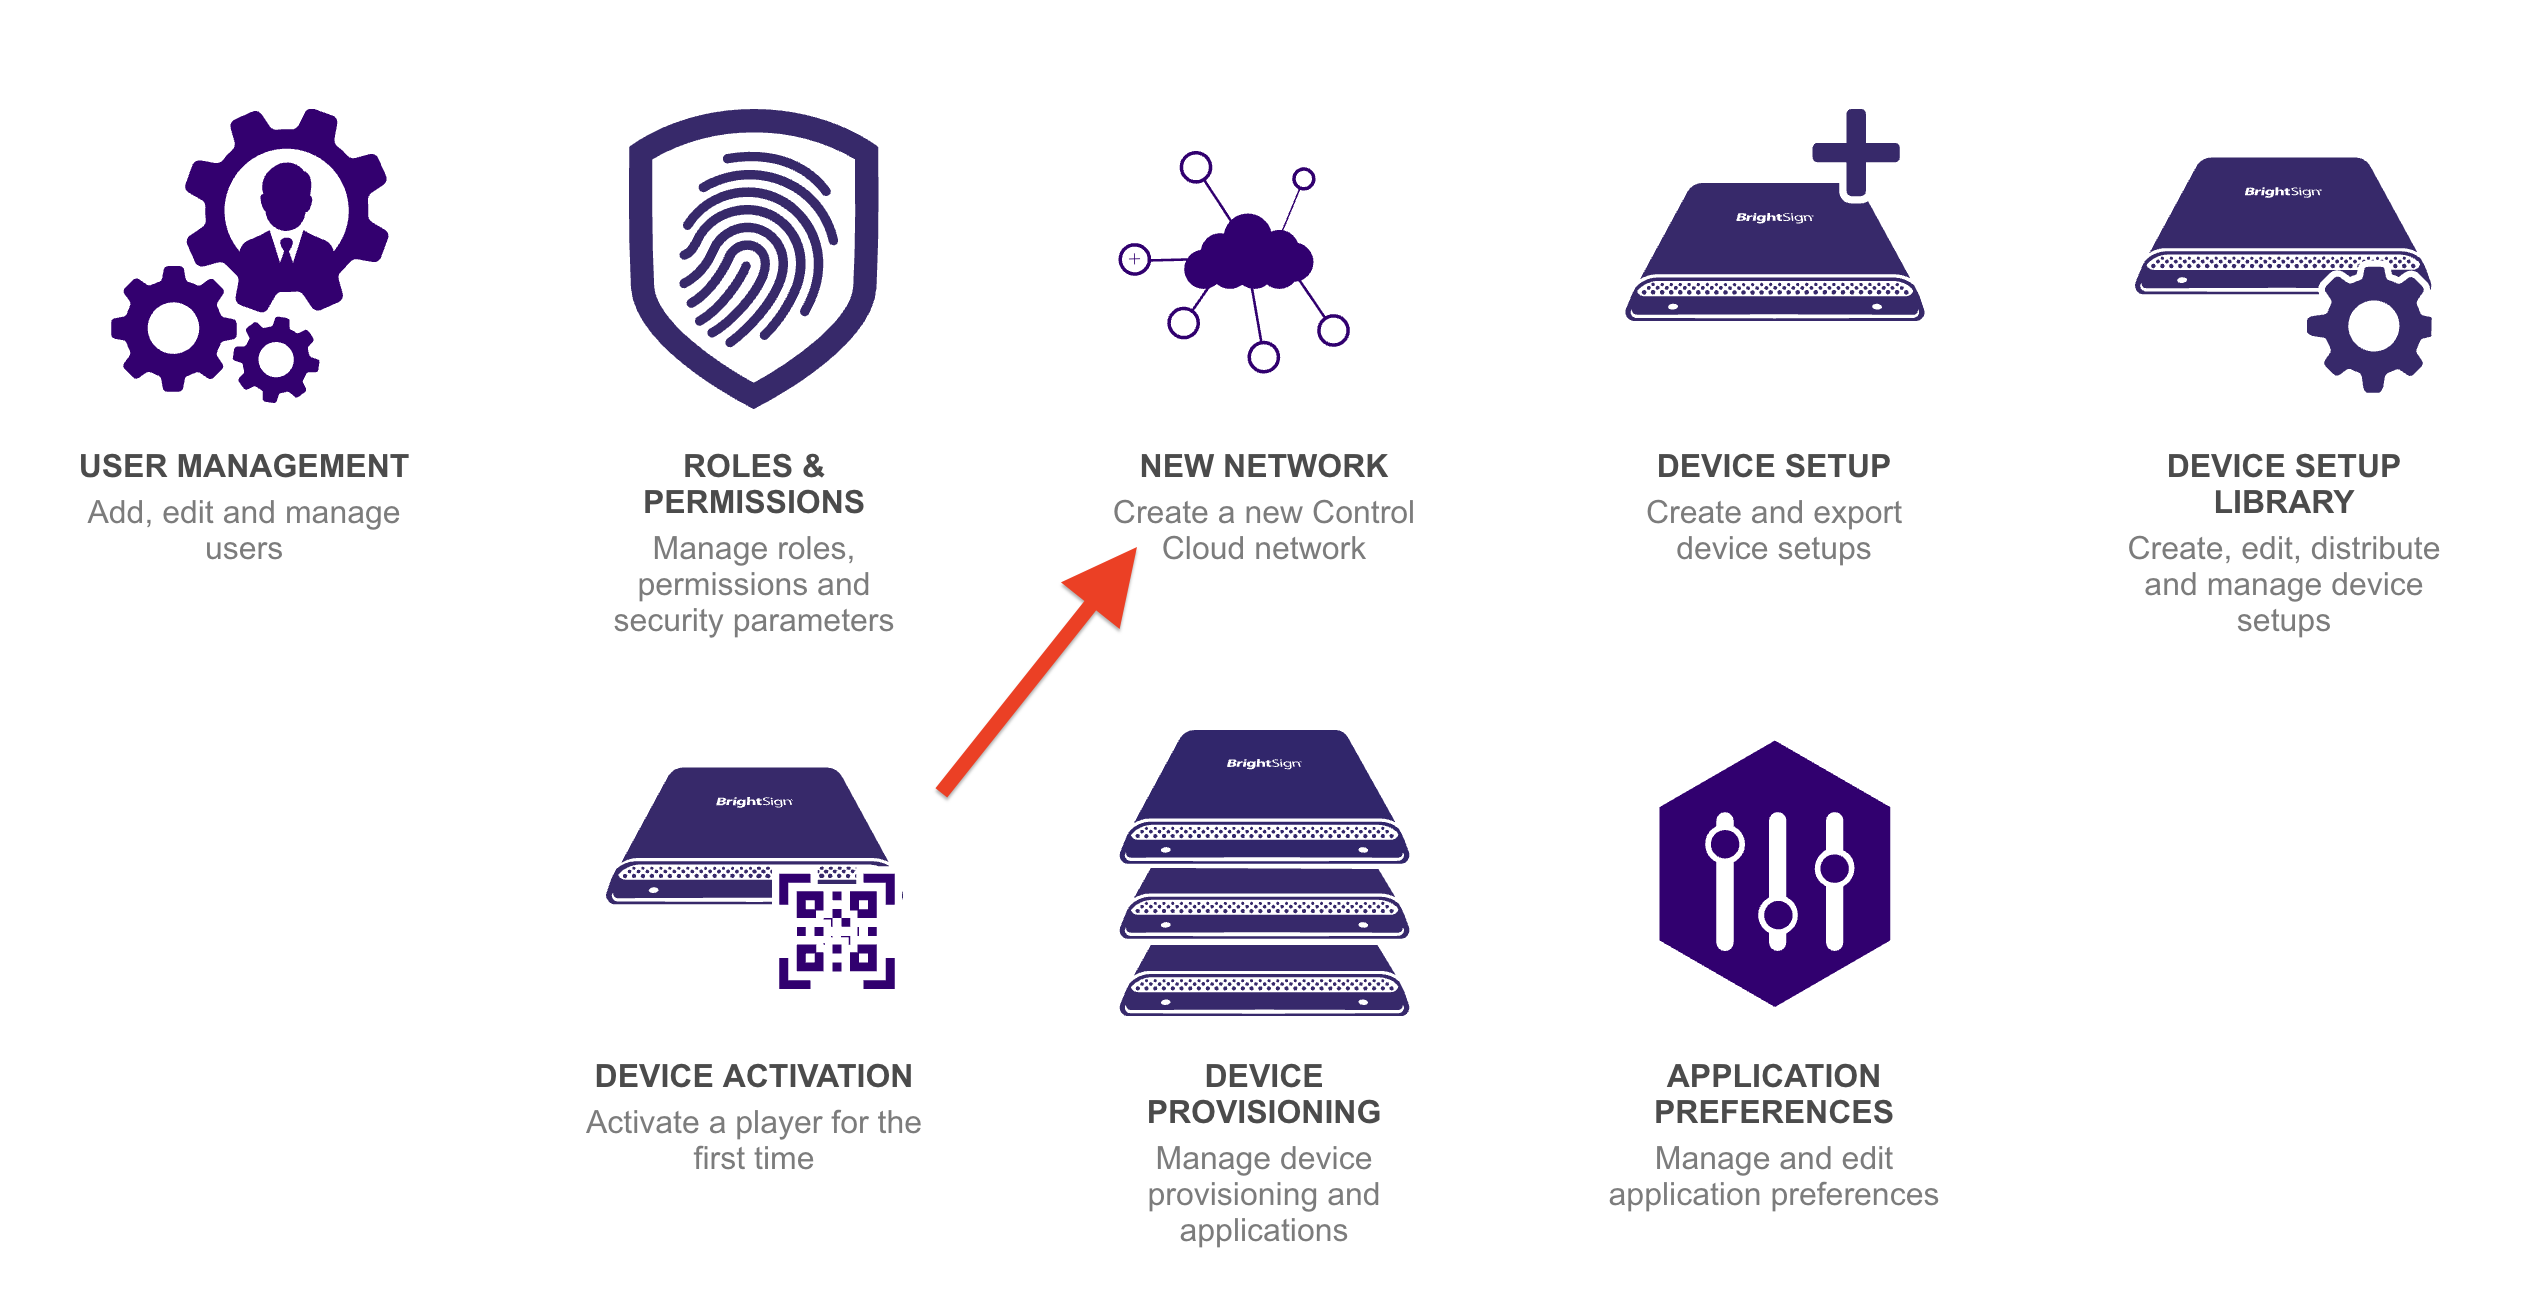
Figure 2
Next Steps
See the Control Cloud or Content Cloud pages for more information about setting up your players on your new network.